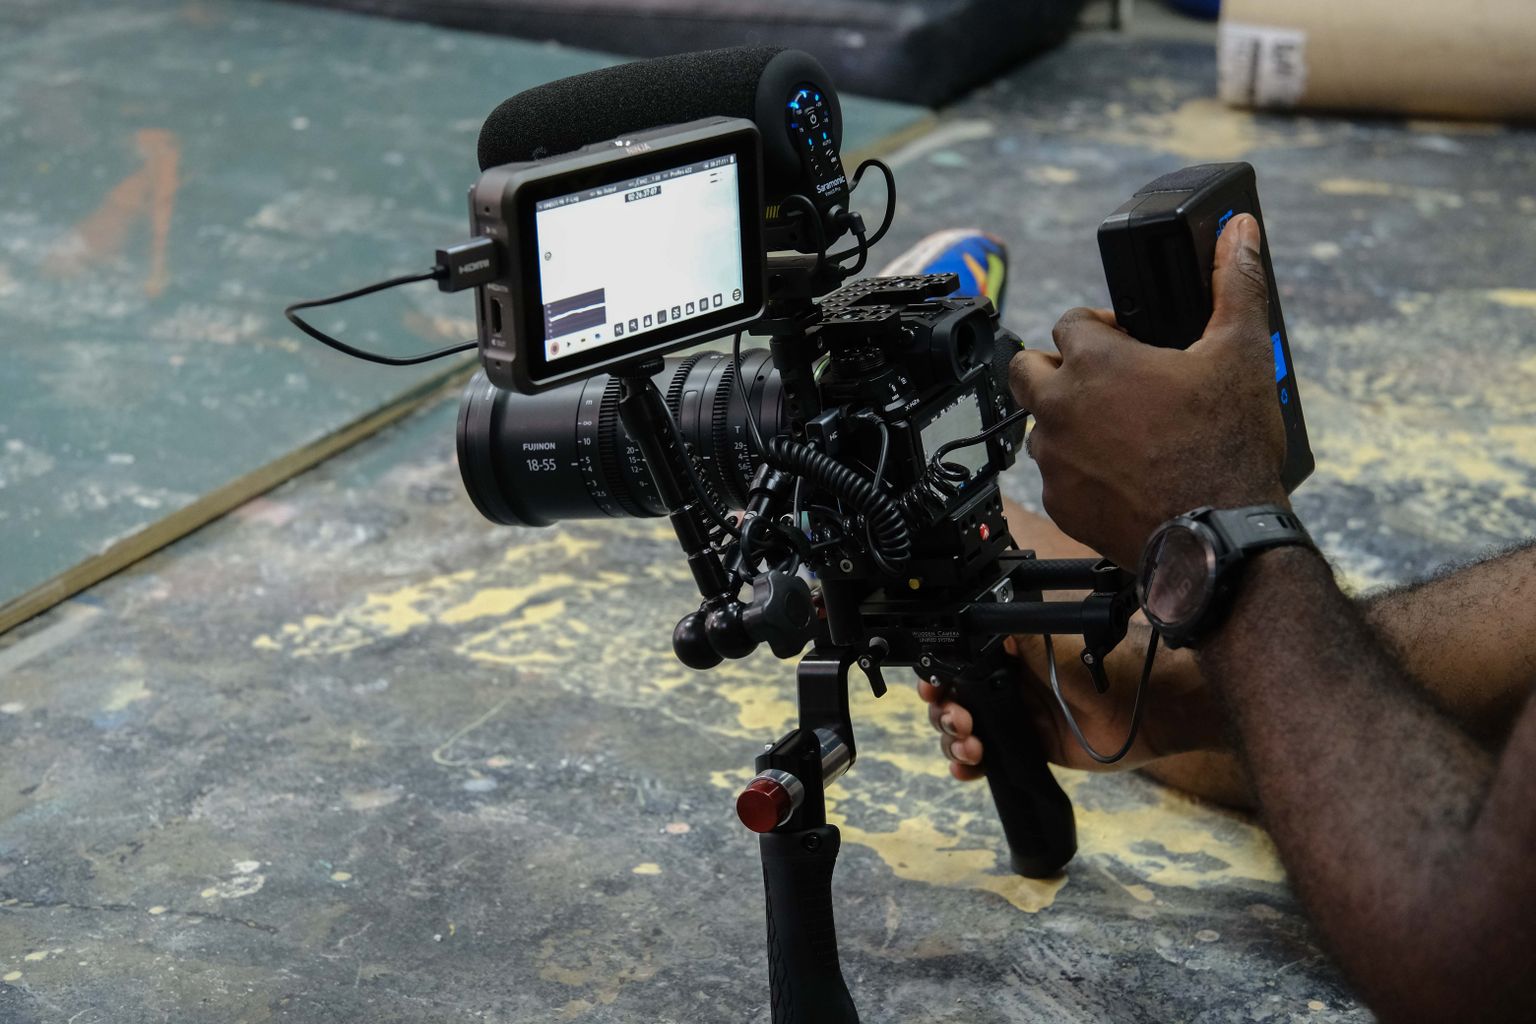
Record RAW Like a Pro: FUJIFILM GFX100 II and X-H2S Workflow Recording in RAW video is one of the best upgrades you can make if you’re moving towards more professional post-production. Here’s how, using FUJIFILM GFX100 II or X-H2S

Combining power and cutting-edge tech, GFX100 II features a 102-megapixel sensor, AI-driven AF, and professional video functionality

Versatile video up to 6.2K/30p, AI-powered AF, and in-body image stabilization mean X-H2S offers total control and creative freedom
Whether flying solo or working with a small crew, the FUJIFILM GFX100 II and FUJIFILM X-H2S give you the tools to create flexible, high-quality footage ready for professional color grading and finishing.

Photo 2022 © John P Haggerty | FUJIFILM X-H2S and XF18-120mmF4 LM PZ WR, 1/40 sec at F4, ISO 2500
What Is RAW Video and Why Use It?
RAW video is essentially the digital equivalent of a film negative. All the data from the image sensor has minimal in-camera processing, giving you a highly flexible file for post-production.
Unlike compressed formats, RAW preserves more detail in highlights and shadows, offers greater color depth, and allows for precise adjustments to white balance, exposure, and contrast in post.
Making RAW images is ideal if you’re aiming for cinematic quality or working with clients who demand full creative control in the grade. It’s especially valuable for workflows that involve HDR, VFX, or detailed color correction.
External Recorders for RAW Video
Fujifilm's RAW output requires an external recorder via HDMI. Here are two strong options for a couple of different workflows:
Blackmagic Video Assist 12G HDR
Records in Blackmagic RAW
Optimized for DaVinci Resolve workflows
Atomos Ninja V or Ninja V+
Records in ProRes RAW
Ideal for Final Cut Pro and Adobe Premiere Pro (with plug-in)
Both connect via standard Type A HDMI cable. Make sure both the camera and recorder have the latest firmware installed.
How to Set Up GFX100 II and X-H2S for RAW Output
Set the camera to MOVIE mode using the STILL/MOVIE switch or the Drive dial.
Press MENU OK, enter the MOVIE SETTING menu then choose HDMI OUTPUT SETTING.
Select RAW OUTPUT SETTING then choose between Atomos or Blackmagic options. You can also set resolution and frame rate here.
Return to the HDMI OUTPUT SETTING menu and set HDMI OUTPUT INFO DISPLAY to OFF, to prevent on-screen overlays.
On your recorder, choose a monitoring color space (e.g., REC 709, HLG, or Native). This will not apply the color space to your RAW footage, only the on-monitor preview.
Smooth Workflow in Post
Both Blackmagic RAW and ProRes RAW are optimized for efficient editing and grading. Fujifilm provides F-Log LUTs to help you preview your final look while recording or editing. These formats are well-suited for HDR, advanced color correction, and VFX workflows.
This is a simple, scalable setup that delivers professional results. With GFX100 II or X-H2S, and a compatible external recorder, you can create stunning RAW footage ready for high-end post-production.
Featured Products
Related Content
Disclaimer: Creator Endorsements
The testimonials and endorsements provided on this website are from individuals who were compensated and/or received remuneration in exchange for their participation.
Disclaimer: Errors and Omissions
The information provided on this website is for general information purposes only. FUJIFILM makes no representations as to accuracy, relevancy, recency, or otherwise, and gives no warranties of any kind with respect to the information provided in the posts presented on this website. FUJIFILM does not review the posts for outdated technology references or information and therefore such posts should not be relied up on as if the information presented is current or updated.


